How to get started with LandingRabbit in five easy steps
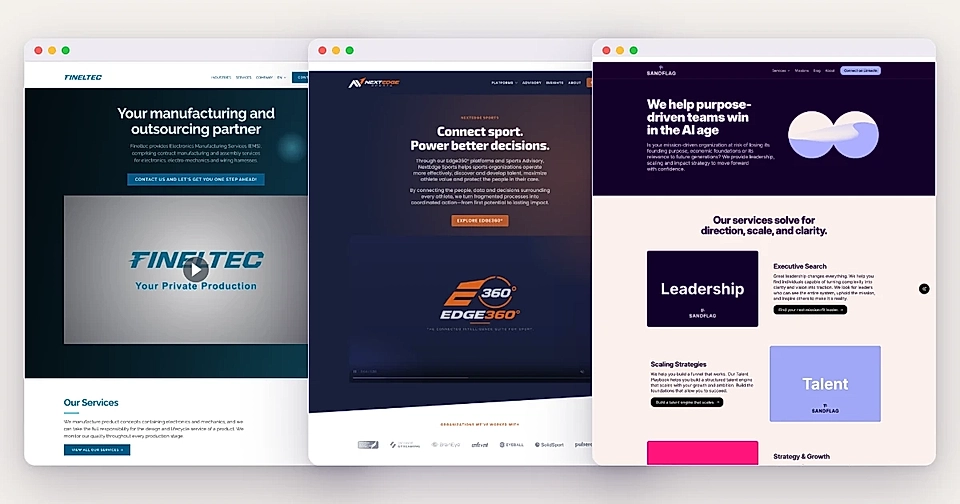
LandingRabbit is a website builder for small businesses, coaches, and consultants.
It's no coincidence.
We've been running small businesses for more than 15 years. We know the challenges.
Websites are one of them.
Always out-of-date.
Never too sure if the page structure and content are right and if those pages we create convert.
We know we are not alone.
So we are trying to solve the pain for ourselves and others.
In this blog post, I'll walk you through how to get started with LandingRabbit in five simple steps and how LandingRabbit helps you build a website for your small business that you are proud of.
Step 1: Create your LandingRabbit account
After signing up for your LandingRabbit account, choose between an existing website URL or brand new website.
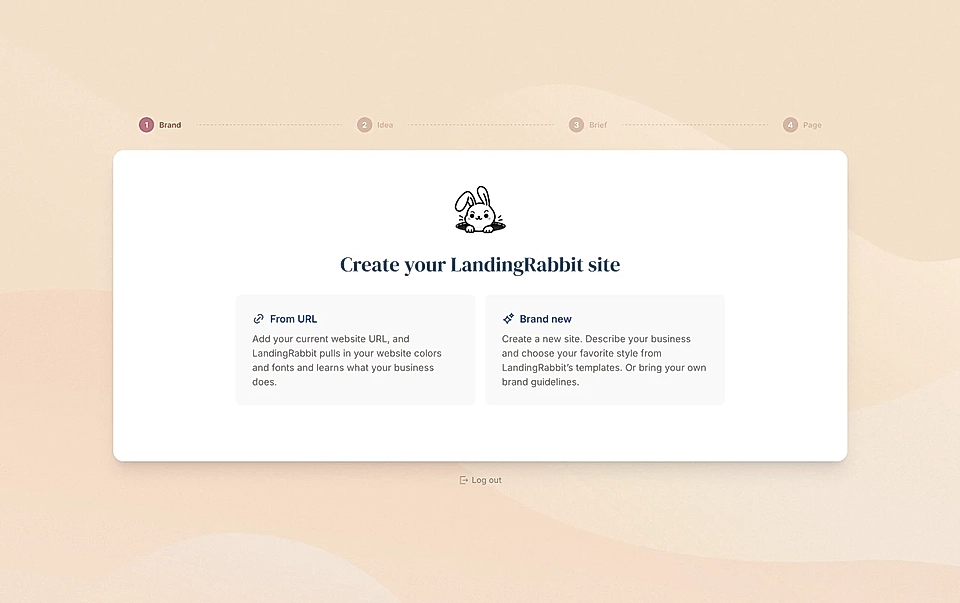
If you'd like to use the styles from your current website, pick the From URL option.
If you'd like to create a fully new website and refresh the design, I recommend the Brand new option.
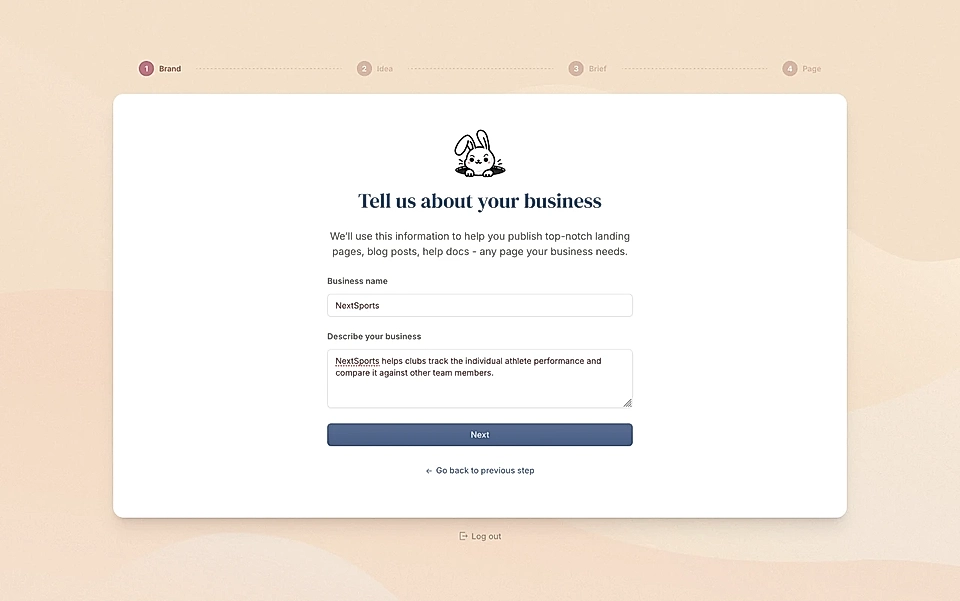
Next, enter your organisation name and a short description. You can copy and paste the description from your existing materials, of course. A short one will be good enough and LandingRabbit will learn more about you over time 👍
Step 2: Choose your design
If you chose brand new, the next step is to discuss your design with LandingRabbit. If you chose to use your existing URL, you can skip to step three.
For the new design, you can choose one of the ready-made design templates, or if you want to use your own colours, choose Create from brand guidelines.
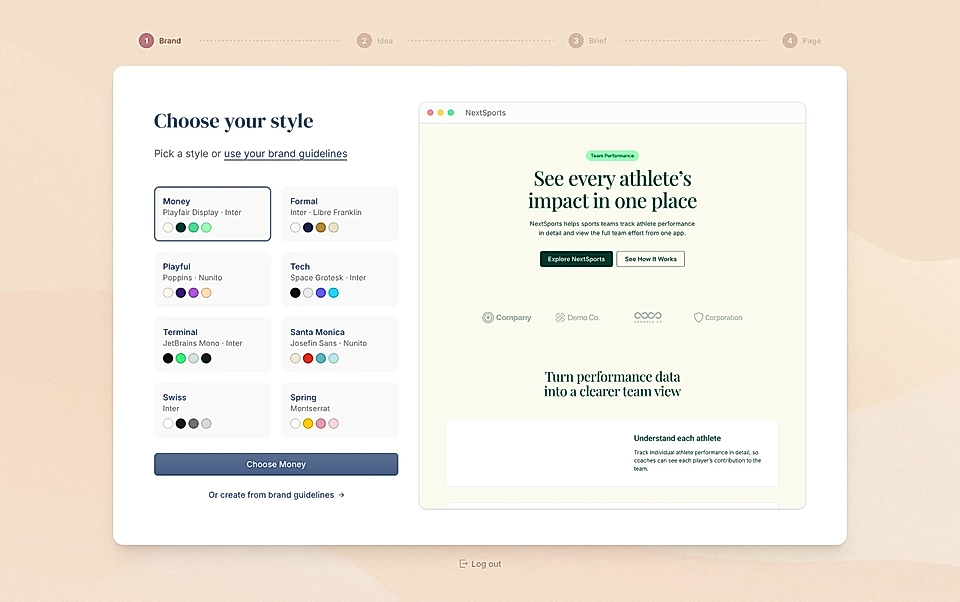
If you choose to create from brand guidelines, you can chat with LandingRabbit about your design on the next screen.
You can give a few colours and fonts, or be very descriptive and detailed. You can also upload brand guideline documents and images, or share a URL for LandingRabbit to look at.
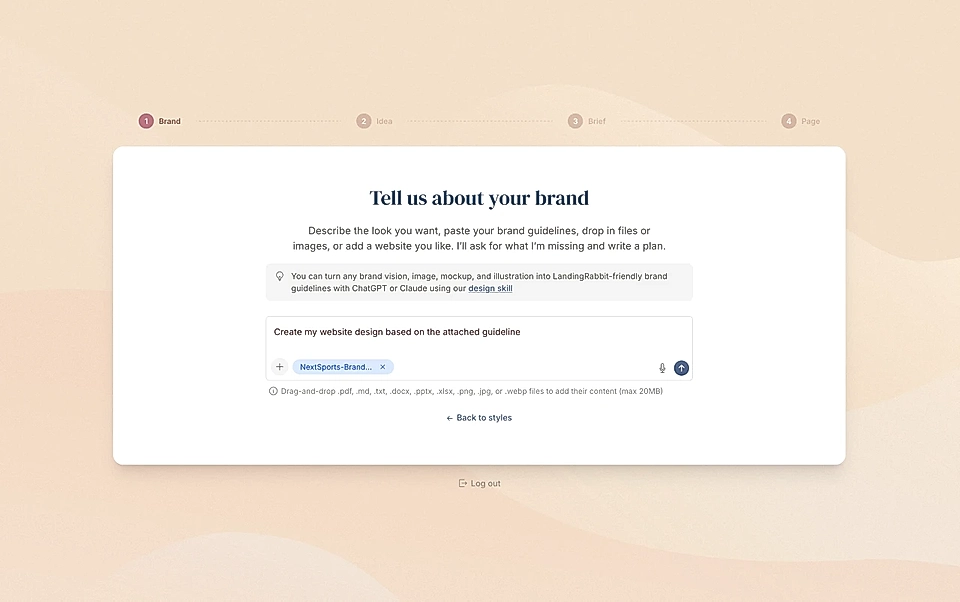
After you submit your request, LandingRabbit goes through your materials and comes back with a summary of the design it suggests.
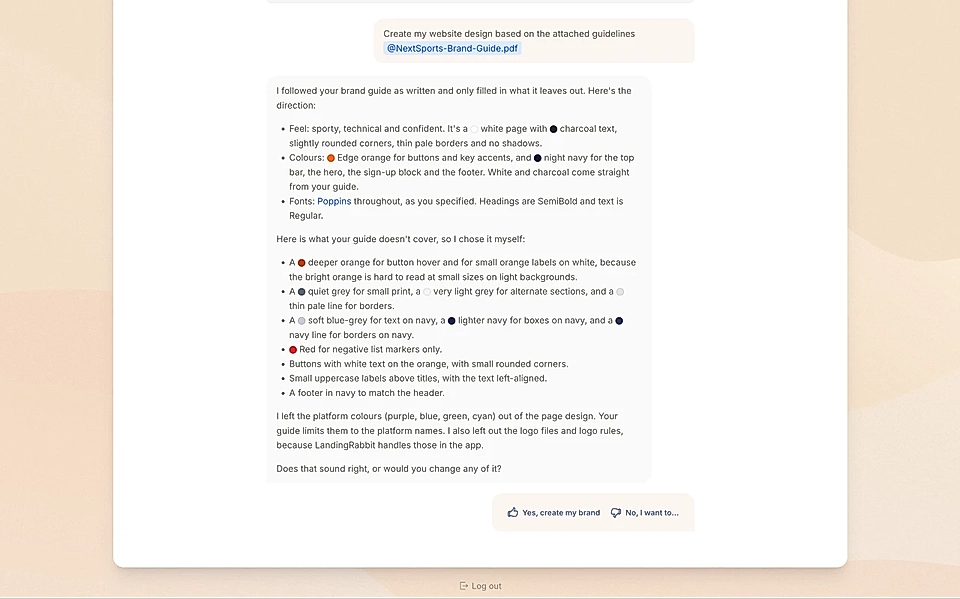
You can ask for changes, of course. Once you're happy, click to create your brand. LandingRabbit then creates 65 ready-made components in the background.
Whether you're creating a landing page, blog post, article, homepage, or any other page you can imagine, LandingRabbit will have all the components you need, in various formats.
Need help with design? We offer free 60-minute website workshops where we interview you and design and build the first page together.
Step 3: Plan your page
Once your design is created, LandingRabbit will suggest an interview.
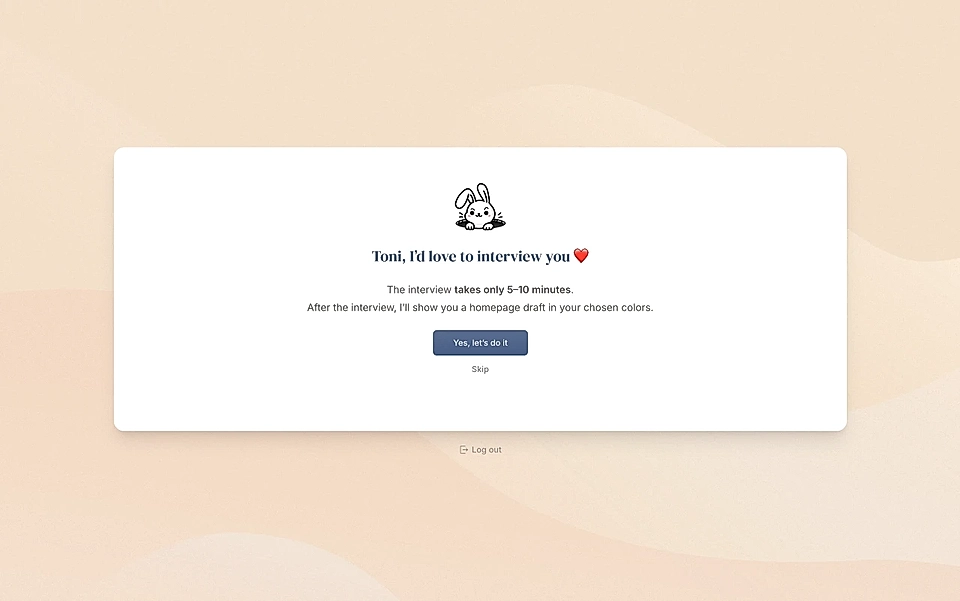
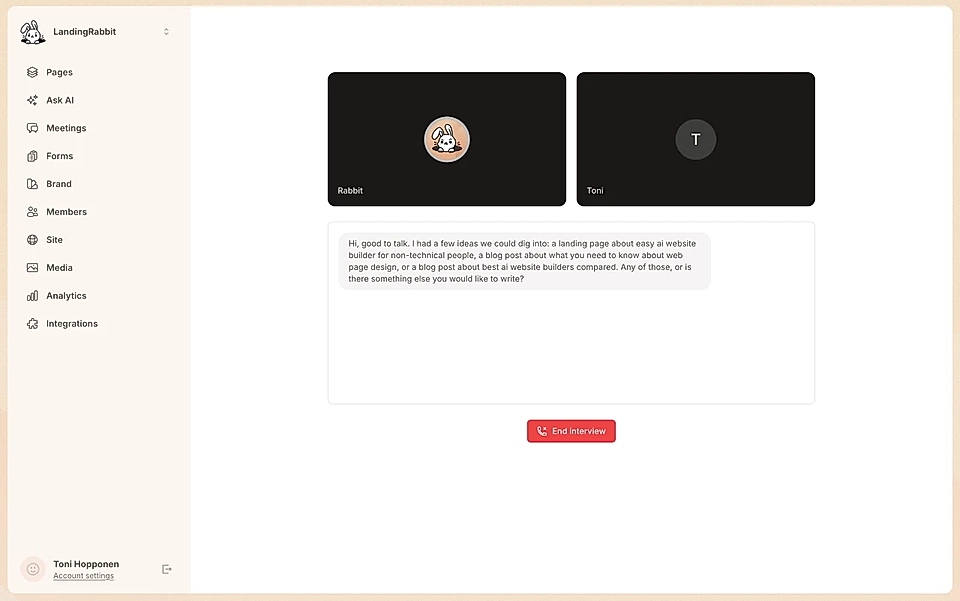
This is especially helpful if you're creating a new homepage and website for your business. LandingRabbit asks questions very similar to the ones I would ask if I were helping you create your homepage and website.
You can also skip the interview and instead record a voice note, upload files such as PDFs, or simply describe the page you'd like to create first.
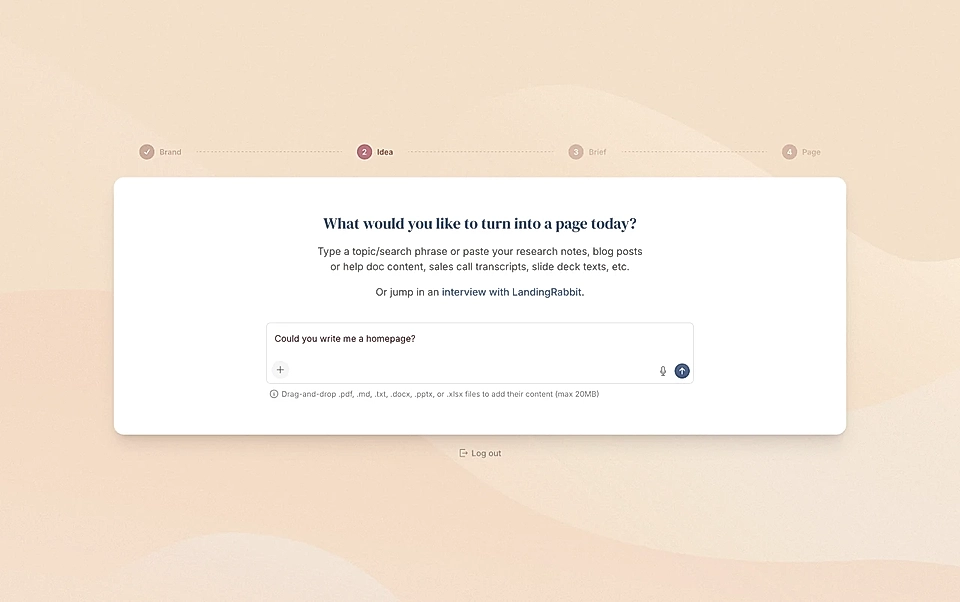
You don't need to be specific about which elements go on the page. Simply share your idea, and LandingRabbit will help you plan it.
First, it creates a plan for the page structure: which elements should be on the page and in what order.
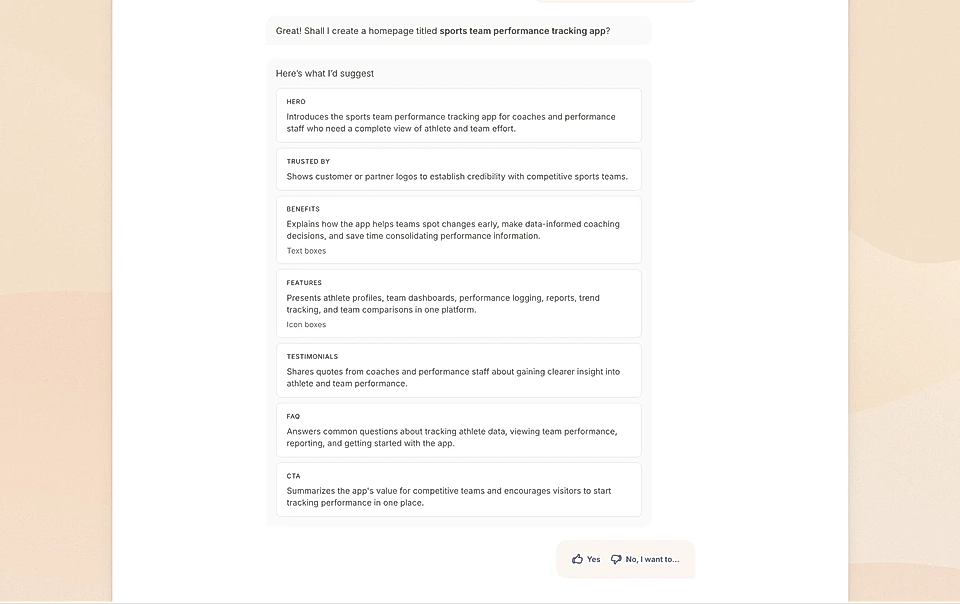
You can ask for changes, and once you're happy, click to create the page brief.
The page brief is like a value proposition canvas for the page you're generating, and it looks a bit different for every page. You decide:
Who the page is for
What alternatives they have
What problems those customers face
What services you provide
What solution you offer
What the benefits of your solution are
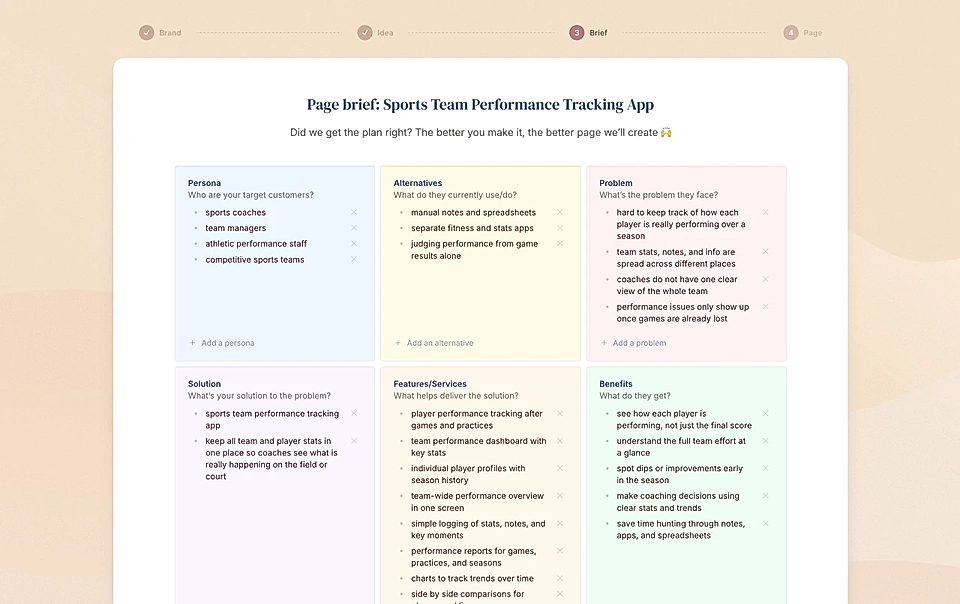
This is a checkpoint where LandingRabbit makes sure you're on the same page.
As you can see, LandingRabbit is very thorough when creating pages, and it's no coincidence that LandingRabbit-powered pages beat regular AI-generated pages, and often those created by a marketer.
Step 4: Edit your page
After you approve the plan, the final step is the page preview.
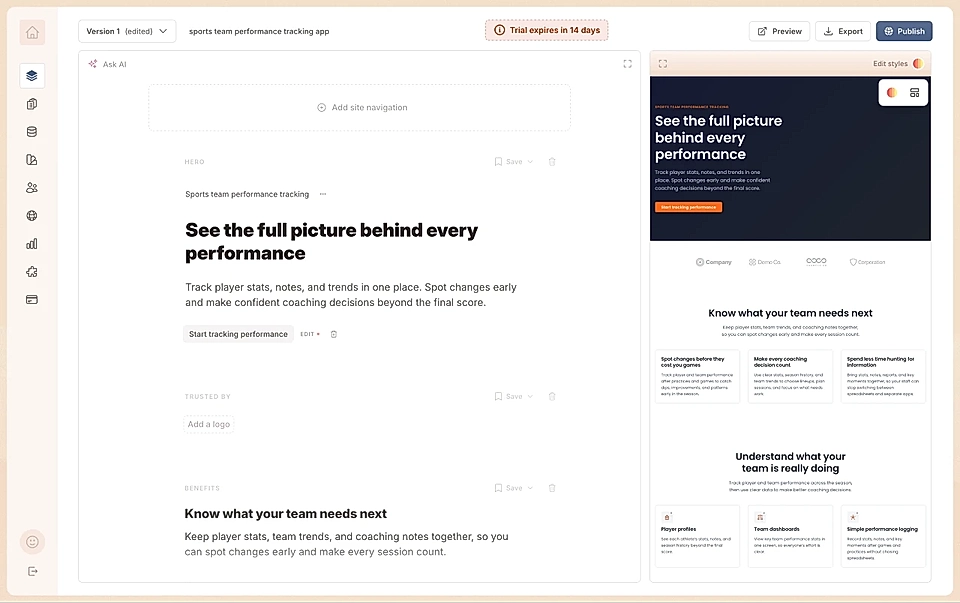
On the left is a text editor similar to Google Docs or Notion. You can type, add sections, and make changes there.
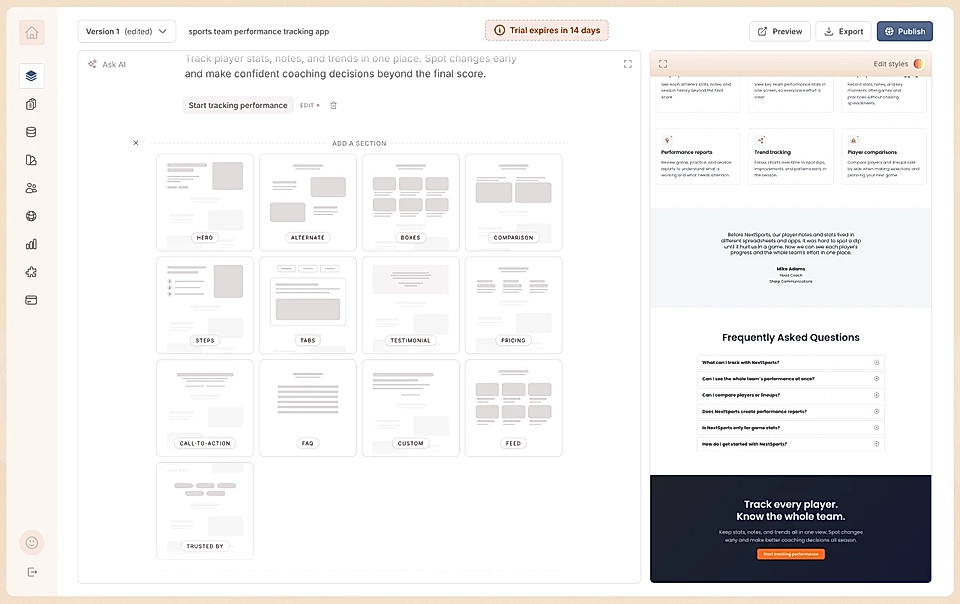
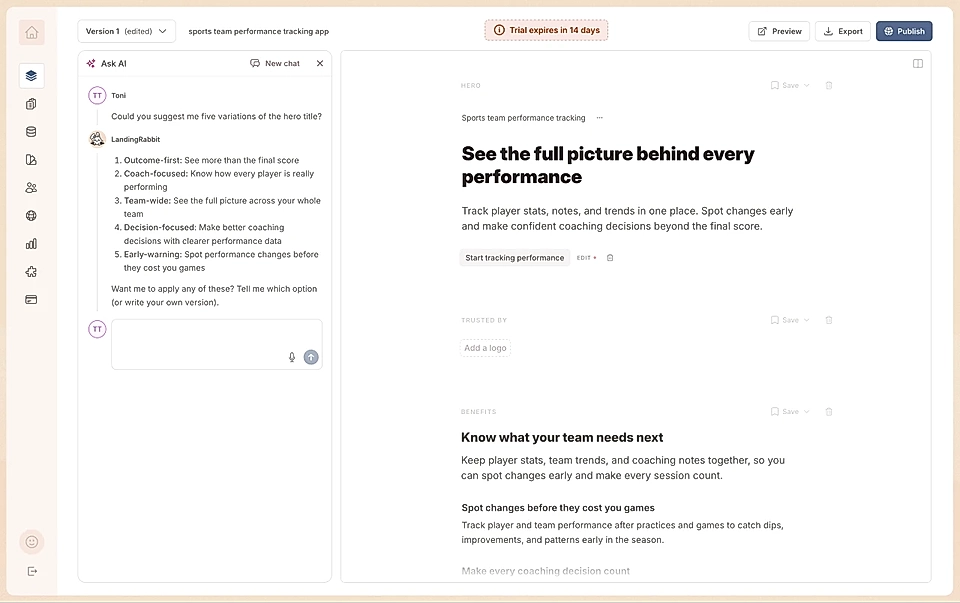
While editing, LandingRabbit can help you with writing. Click Ask AI to request alternative copy or have it make changes for you.
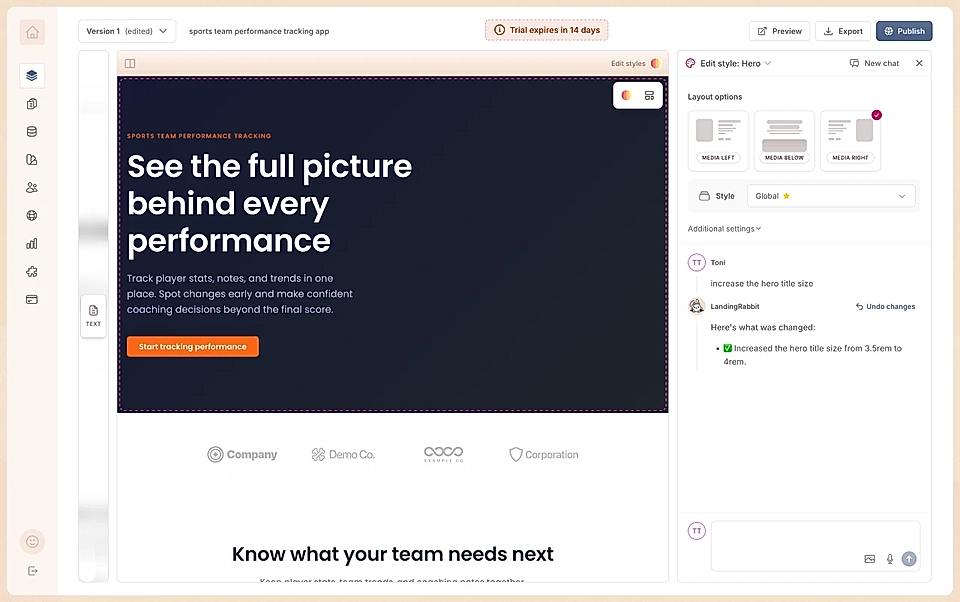
On the right is a page preview where you can click to edit styles. For example, you can ask to make the hero title bigger, change where the image is positioned, or make any other request. You can talk to it as you would to a human designer.
For the full website design, I recommend the Design tab. There you can see all 65 components LandingRabbit creates by default, along with their designs.
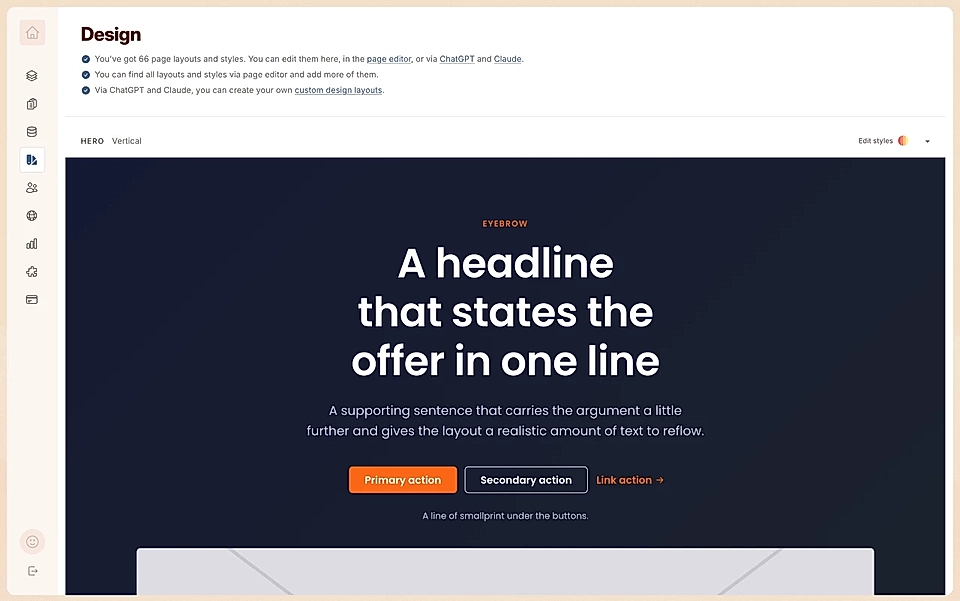
Any change you make applies across all pages that share those components. Super useful and saves a ton of time.
Step 5: Publish
Once you're happy with the page, click Publish. The page will initially be published under landingrabbit.site. You can switch to your custom domain in site settings.
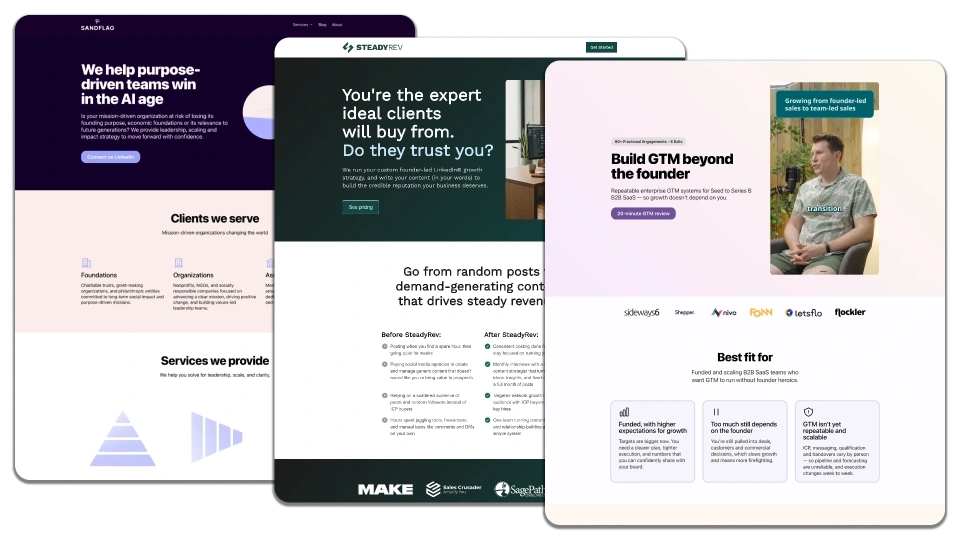
That's how easy it is.
For all published pages, we gather cookie-free analytics.
For all subscribers, we track what competitors are writing about and suggest content based on what they rank for and what you haven't written about or don't yet rank highly for. That all visible in the SEO dashboard.
Sign up for LandingRabbit's free account to get started today.
Prefer help? Join a free workshop
In addition to this self-serve flow, we offer free 60-minute homepage workshops. In the workshop, we interview you, ask tough questions about your organisation, and together, in that call, design your website and write the first page with LandingRabbit.
The workshop can be very helpful if you're unsure whether you can pull this off on your own.