How to create landing pages and blog posts with LandingRabbit ChatGPT app
If you want to use LandingRabbit in ChatGPT to create landing pages and blog posts, you can now connect LandingRabbit to ChatGPT so you don't have to switch between tools.
This means you can discuss page ideas, paste research notes or call transcripts into ChatGPT, and turn them into branded landing pages instantly without leaving your chat.
What this integration lets you do
Once connected, you can:
Ask ChatGPT to generate landing pages, blog posts, and help docs in LandingRabbit
Paste content like sales call notes, specs, or blog text and have ChatGPT use it to build pages
Generate page plans (target audience, problems, benefits)
Use tools like bulk replace links from within ChatGPT
Install LandingRabbit to ChatGPT
In ChatGPT, open the side panel and go to Plugins.
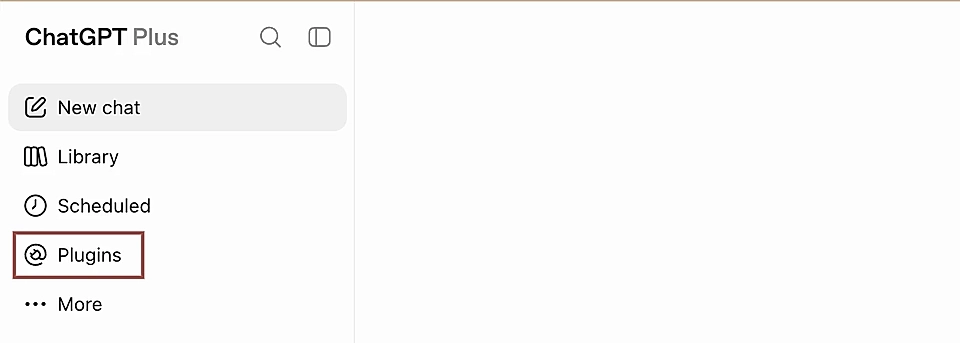
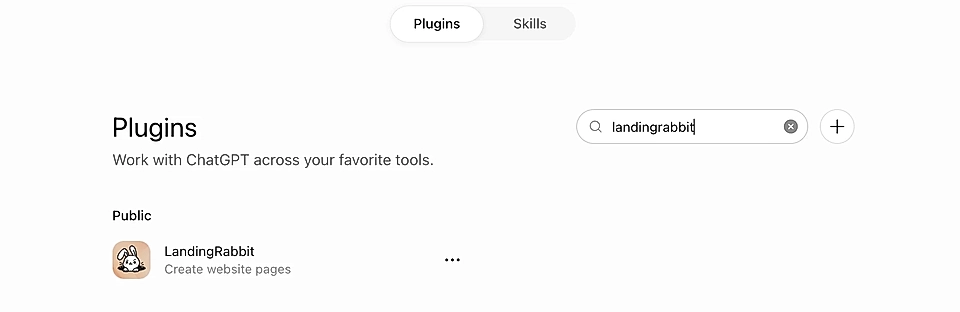
Next, search for LandingRabbit.
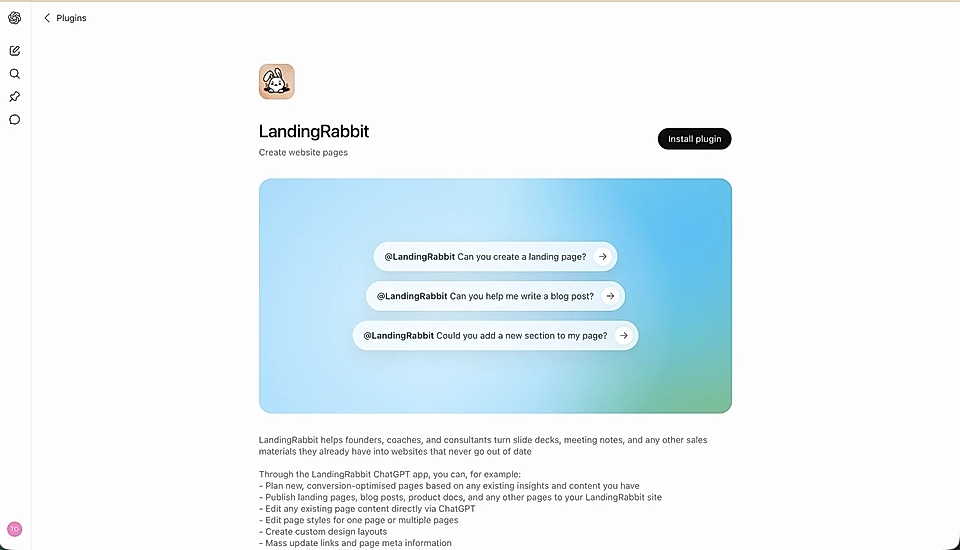
Then, install LandingRabbit.
A screen will appear asking you to connect your LandingRabbit.
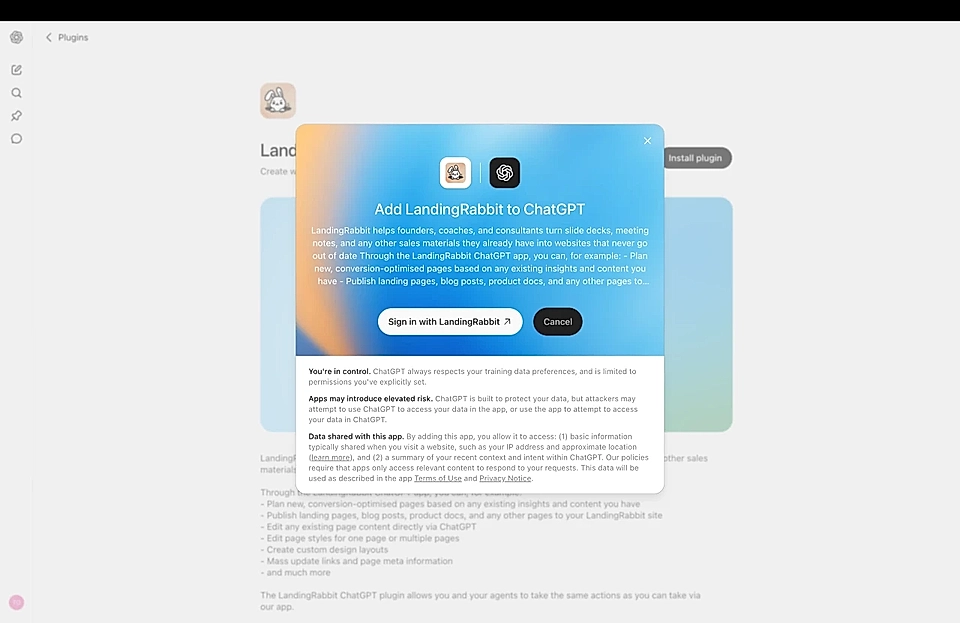
Over there:
Log in to your LandingRabbit account
Choose the workspace you want ChatGPT to access
Approve the connection
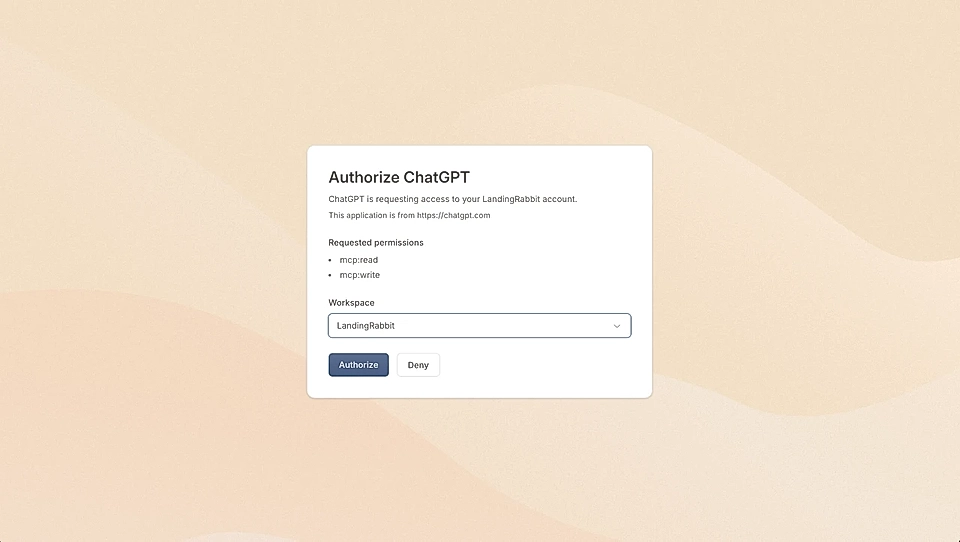
Once approved, you can use ChatGPT to do most actions (and beyond) without opening LandingRabbit.
Create a page using ChatGPT
Once connected:
Start a new chat in ChatGPT
Make sure LandingRabbit is selected as an available app
Enter your request, for example: Create a landing page titled: Project Management Tool for Startups. Here's my product spec and call notes…
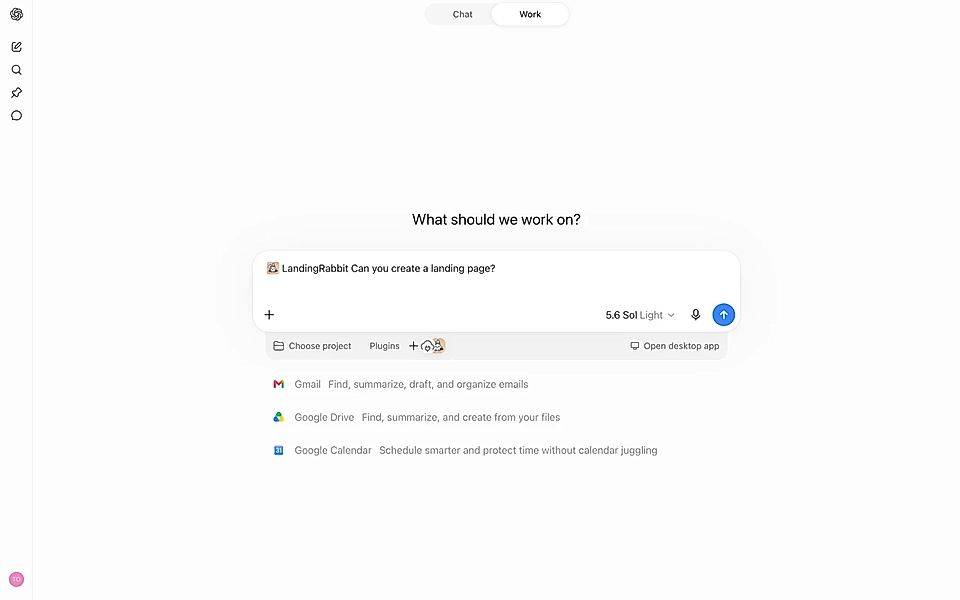
And you'll get a page in return.
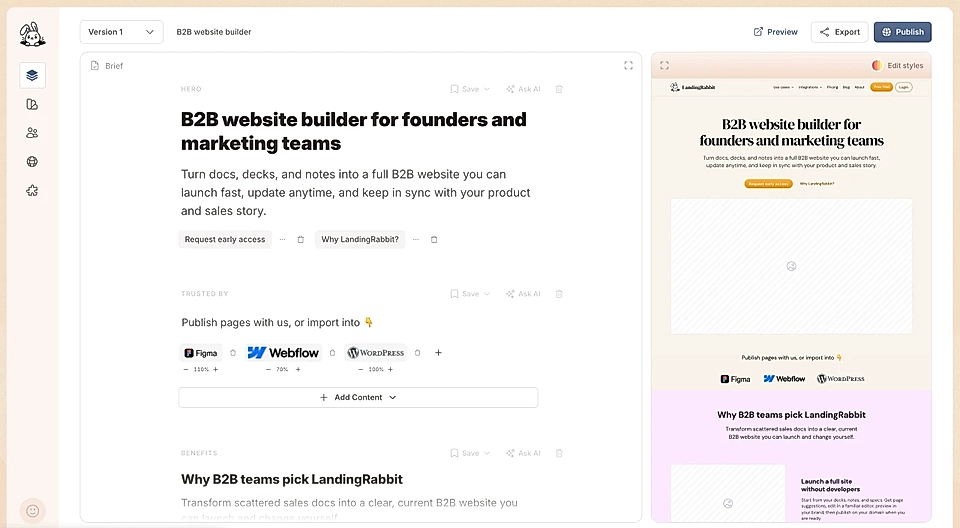
Other things you can do
You can ask LandingRabbit to make edits, too. Change any text, edit styles, move section order, publish pages, and more. Pretty much anything you could do inside the app.
Here's the current tool list:
Create pages
Edit page content
Edit page styles and templates
Edit page images
Create and edit fully custom design components
Get SEO recommendations data from LandingRabbit to ChatGPT
Update page metadata
Replace links at bulk
Publish or unpublish pages
List workspace pages
Export pages as CSV
Manage tags
Manage categories
Migrate blog content
Send meeting transcripts