What changes can I make to Boxes layout?
The Boxes layout is one of the most flexible sections in LandingRabbit.
You can switch between different display styles, adjust how images appear, reposition the section header, and fine-tune spacing, colors, and sizes using AI.
Here's what you can change.
Choose between boxes, text boxes, and icon boxes
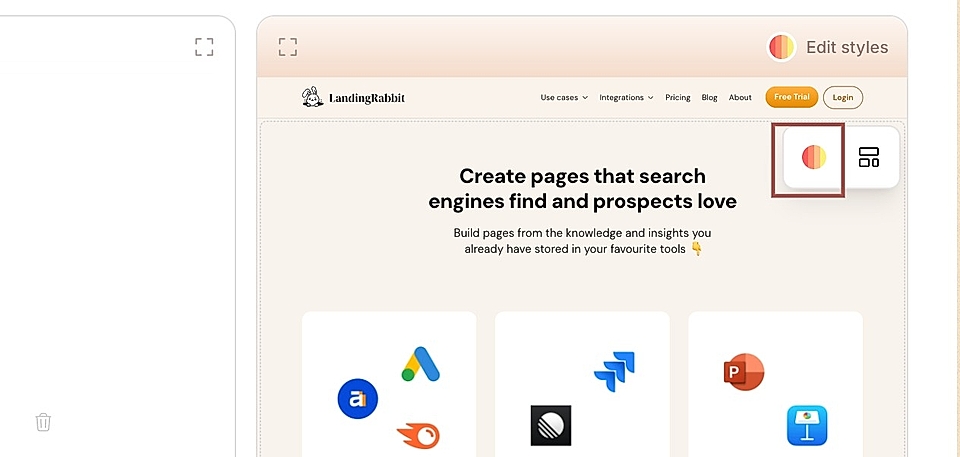
When making changes, start by clicking the layout options icon in the page preview.
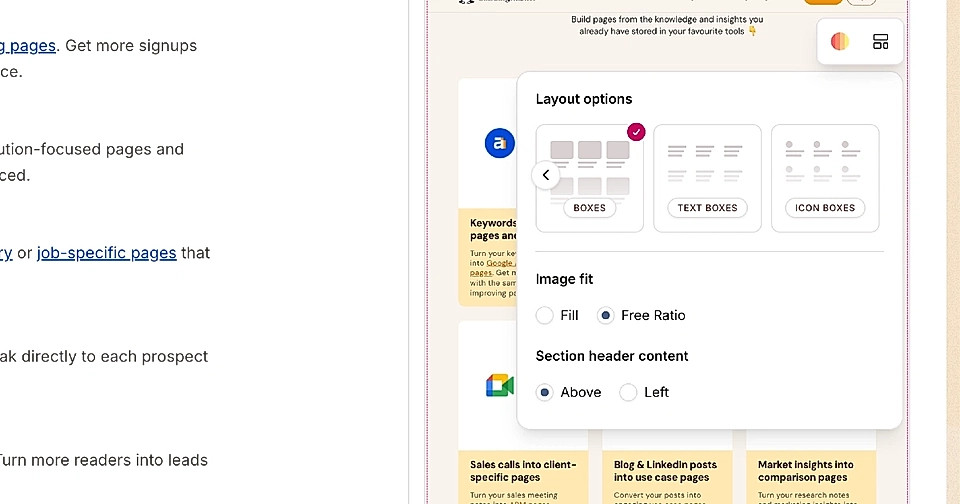
You'll see three layout types:
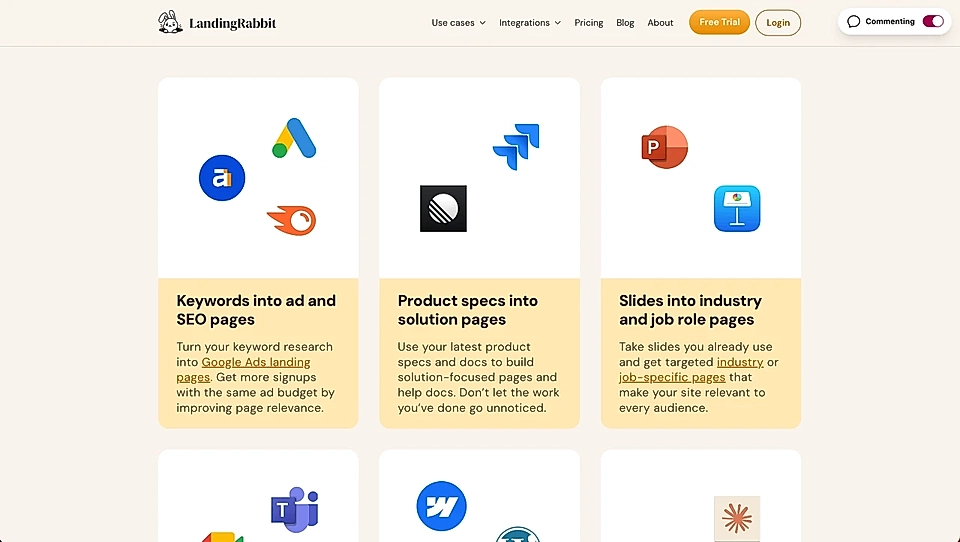
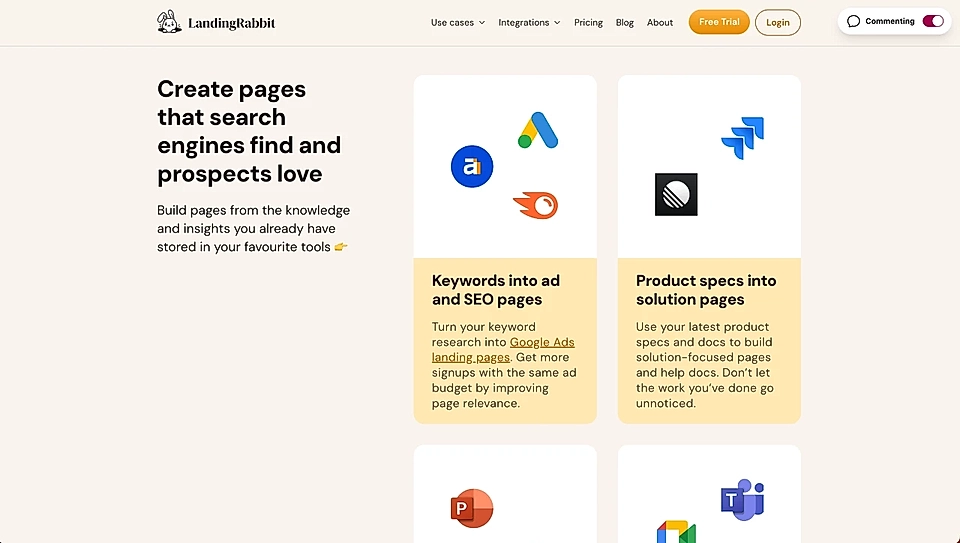
Boxes: includes images
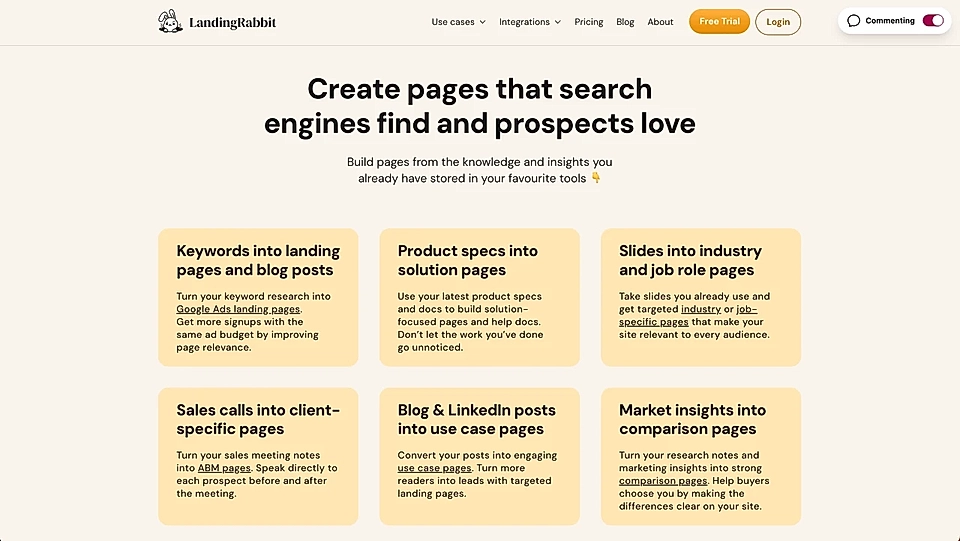
Text boxes: no images, just text content
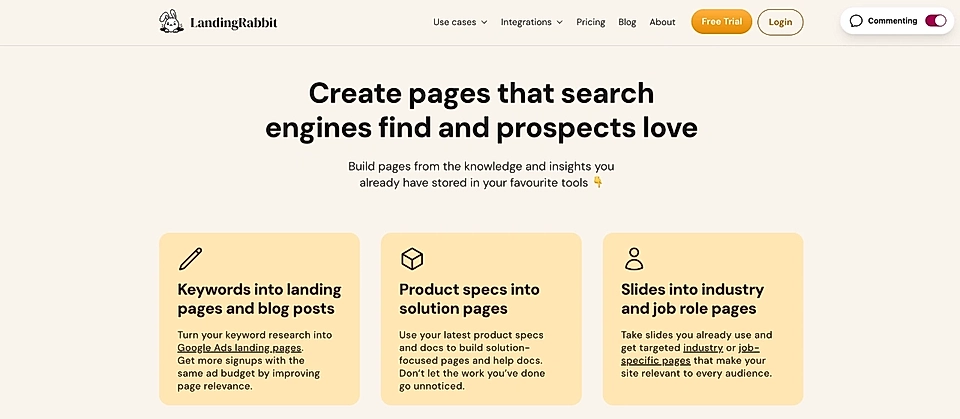
Icon boxes: lets you add icons from our icon gallery
Change how images are displayed
In the layout options, you'll find the image fit setting.
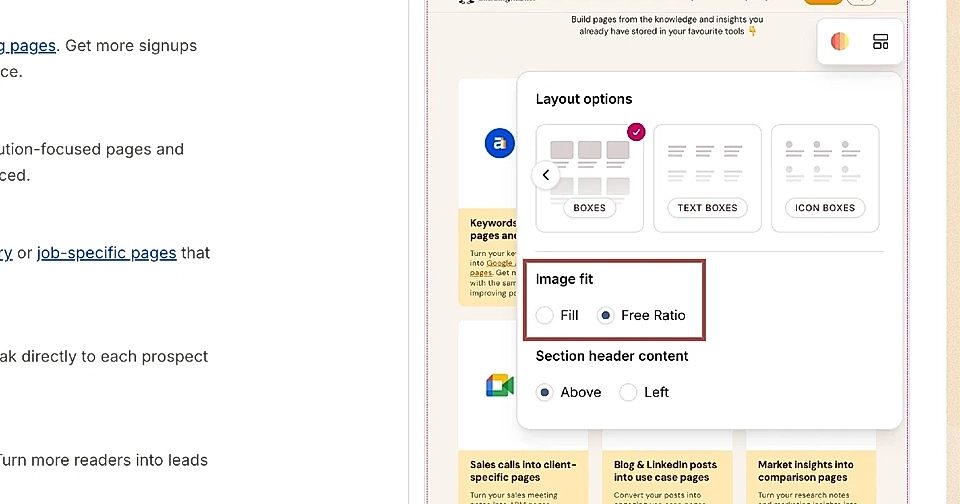
This controls how images appear inside their container:
Fill: the image stays within a fixed size container. On smaller screens like mobile, the image won't grow too large, but it may be cropped. Make sure important parts of your image won't get cut off.
Free ratio: the image displays at its exact dimensions without cropping. You'll need to make sure all images have consistent proportions, or the layout might look uneven.
Choose Fill if you want consistent sizing across all boxes. Choose Free ratio if you want full control over image dimensions and don't want any cropping.
Change the section header position
By default, the section header sits above the boxes.
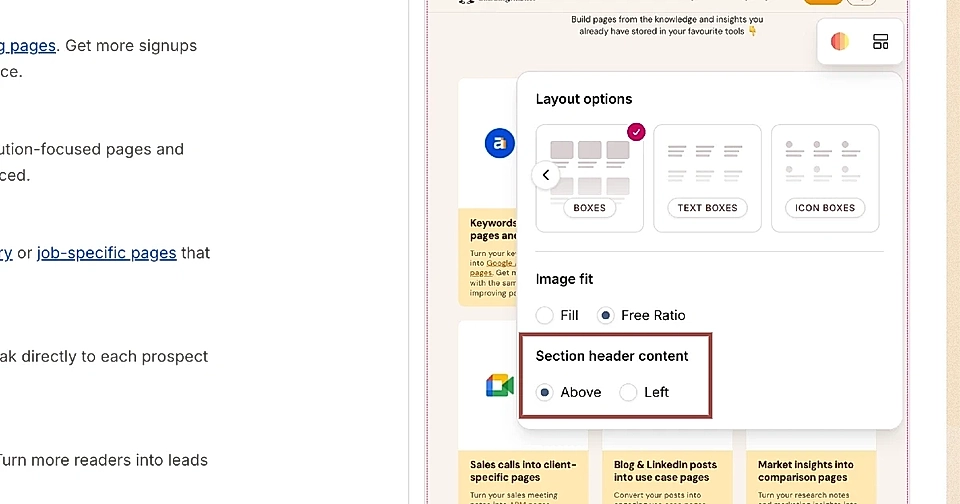
But you can move it to the left instead.
When you do this, the boxes shift to the right and display in two columns. The header content on the left shows in full, including any CTA buttons or eyebrows you've added.
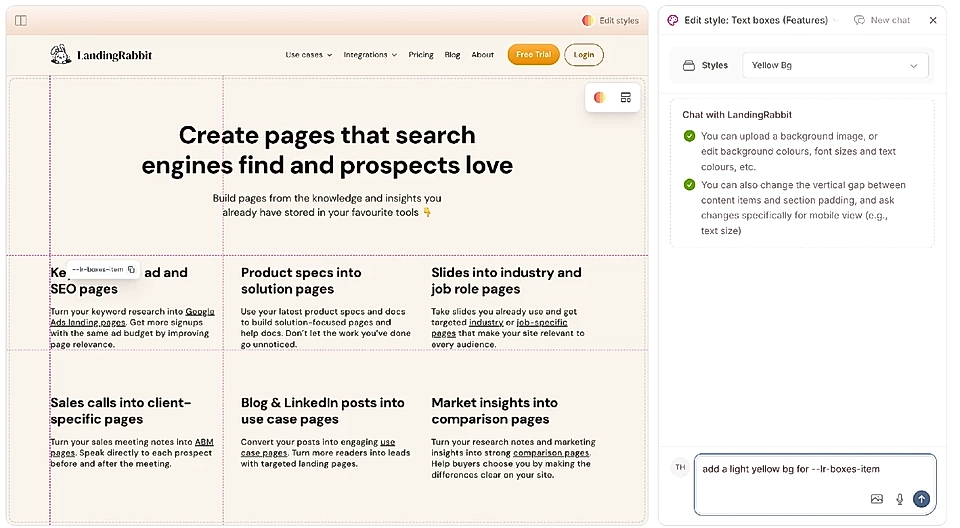
Edit styles with AI
Click the edit styles icon to make detailed changes using natural language.
You can ask LandingRabbit, for example, to:
Increase or decrease padding at the top and bottom of the section
Change the page background colour (including gradients)
Upload a background image for the section
Change font sizes, weights, and colors
Add a background colour to each box item
Add border or shadow to each box item
Adjust the corner radius of the boxes
Change the space between boxes, both vertically and horizontally
Adjust spacing between header and items and all titles, descriptions, CTA buttons, and eyebrows
Just describe what you want to change, and LandingRabbit will apply it for you.
See more detailed document on how to edit the Boxes section look and feel.
Use helpful tips when editing
When you hover over any title, description, or item in the page preview, you'll see helpful tips.
These tips show you what each element is called.
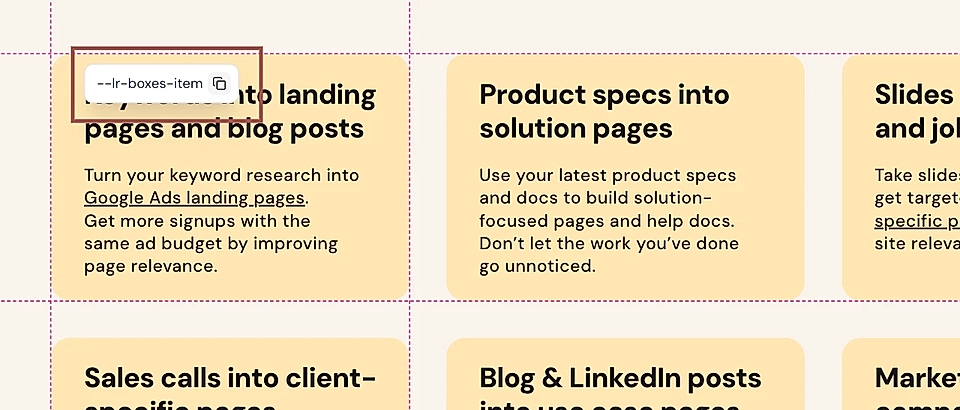
You can copy those names and paste them into the chat when asking for changes. This helps LandingRabbit understand exactly what you want to adjust.
If you have questions about what you can achieve with LandingRabbit's style edits, send us a message through [email protected], Slack, etc.