How to create a before and after element for your landing page
Creating a before and after element is easy with LandingRabbit.
Open the page editor.
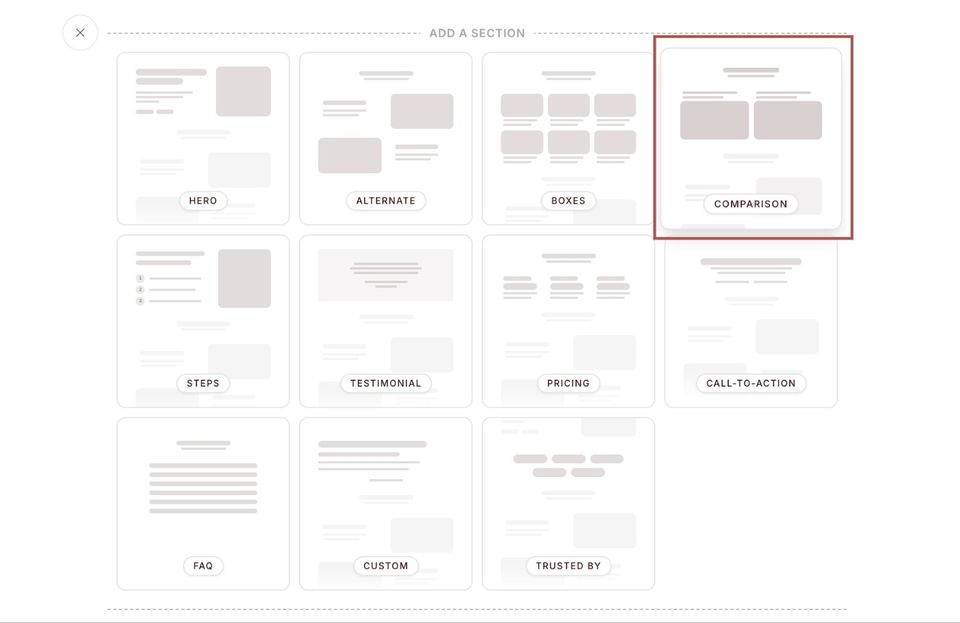
Click the plus icon on the left in the text editor to browse page layout options.
Select the Comparison section.
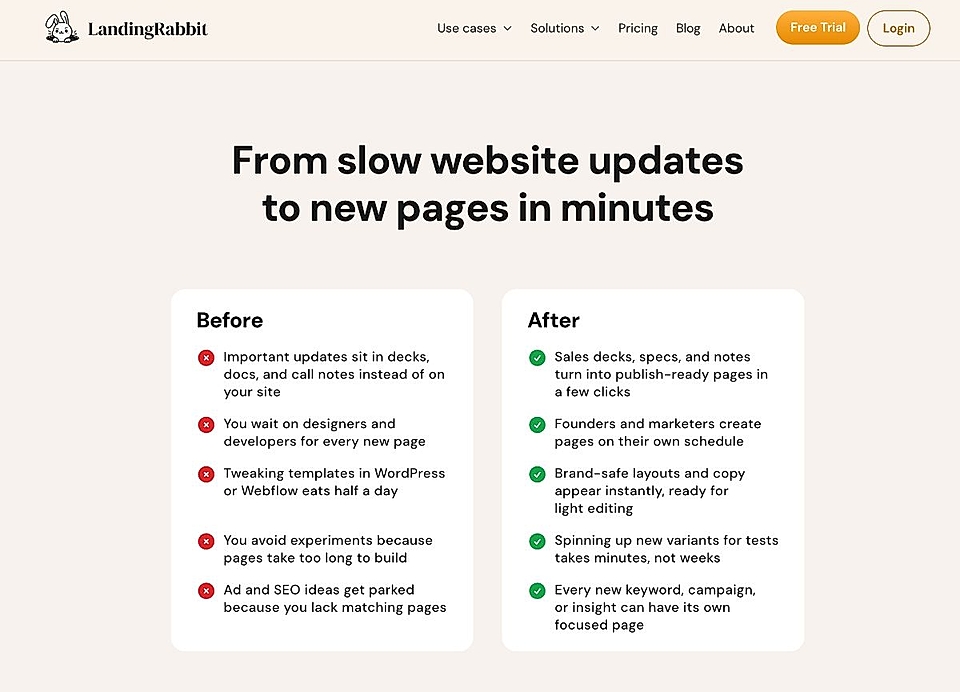
LandingRabbit will automatically generate a before and after element that highlights:
- What customers did before
- The challenges they faced with existing tools
- How your solution helps them do things easier, faster, or better
You can fully edit the comparison section. For each item, you can:
Update the text
Change the icons using the dropdown for each row
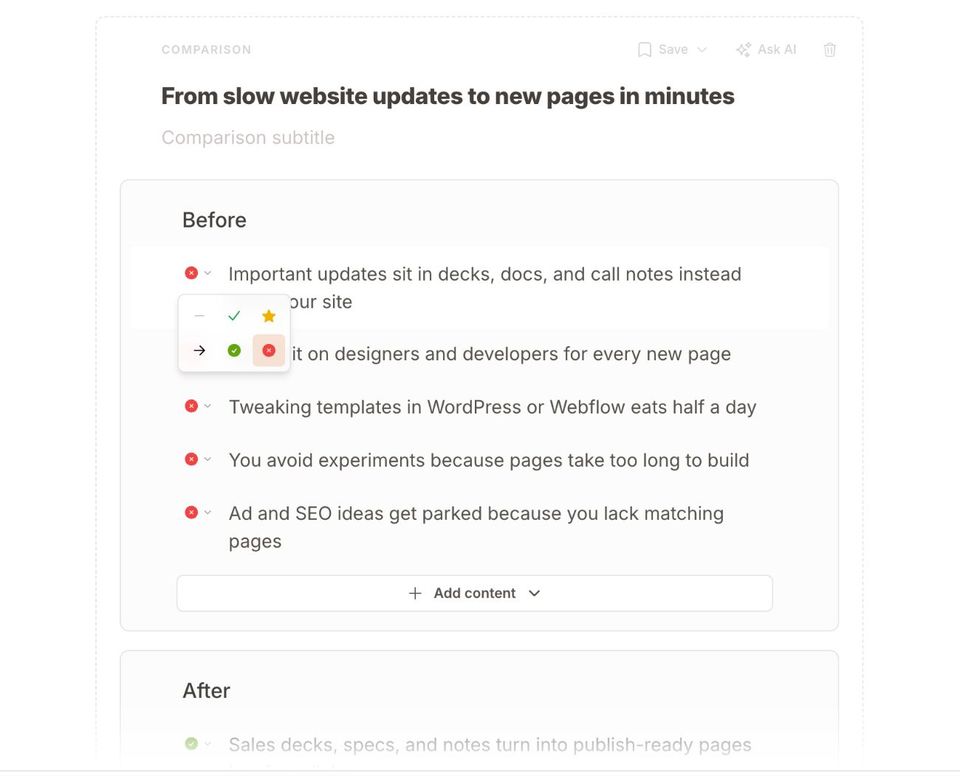
Adjust the background and styling, even per item
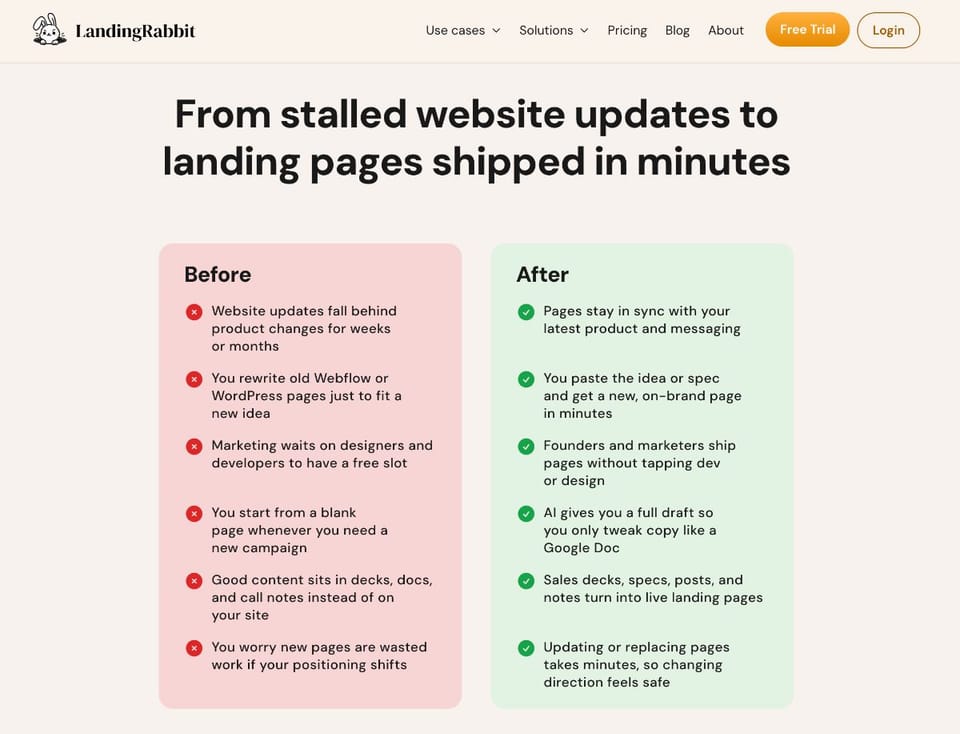
The comparison element can also be used for other purposes, such as comparing your product to alternatives or competitors.
That's how easy it is to create before and after elements for your landing pages with LandingRabbit.
If you'd like to create one for your landing page and don’t have a LandingRabbit account yet, sign up for our 14-day free trial today.