Can I add author and date to blog posts and articles?
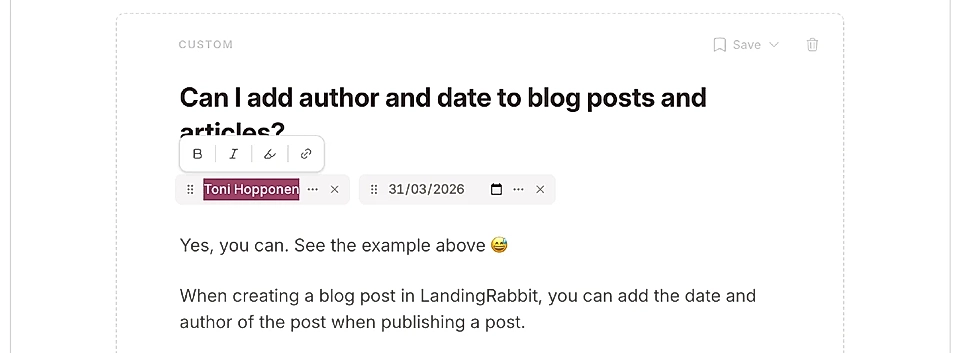
Yes, you can. See the example above 😅
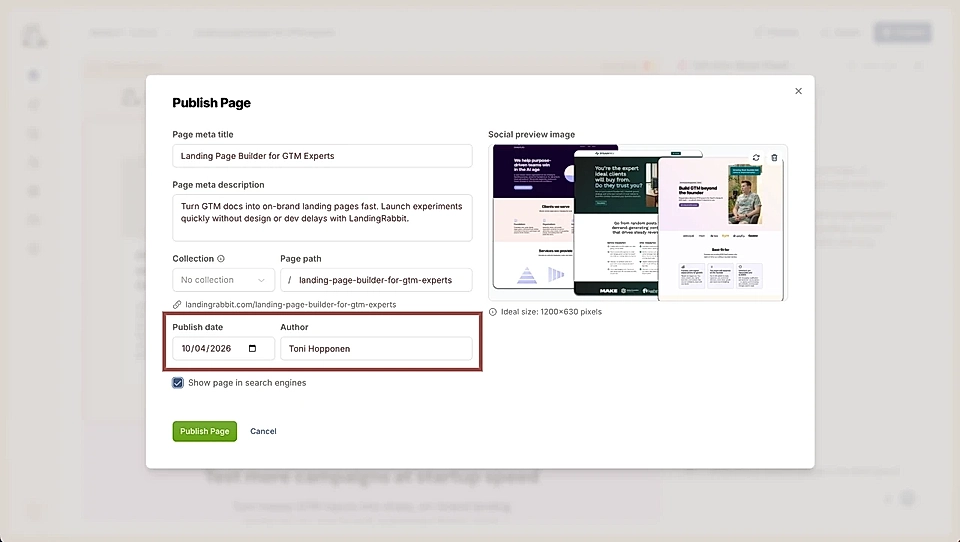
When creating a blog post in LandingRabbit, you can add the date and author of the post when publishing a post.
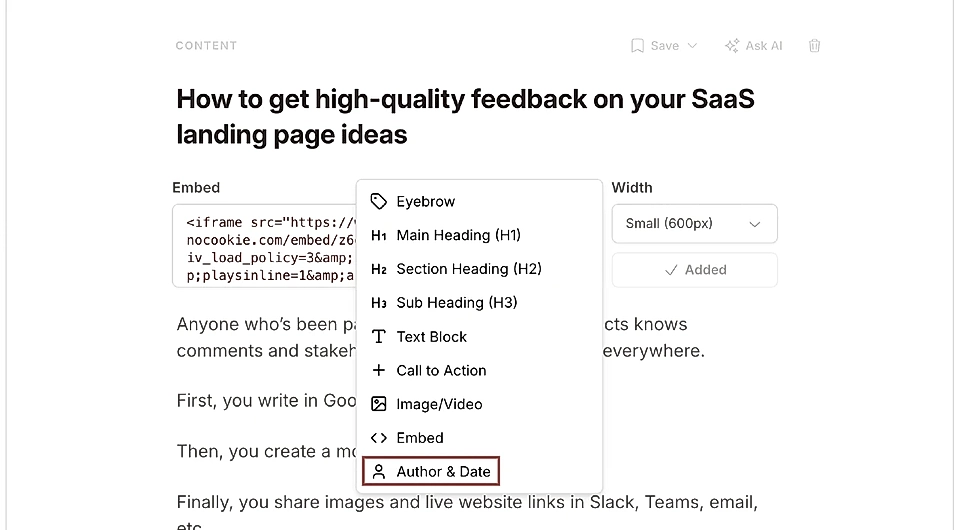
And if you'd like to show that information on the page, click the plus icon inside a custom section, and choose Author and Date. You can choose to add one or both.
Add author information
For the author, you can choose to add a label like "Written by" or just show the person's name.
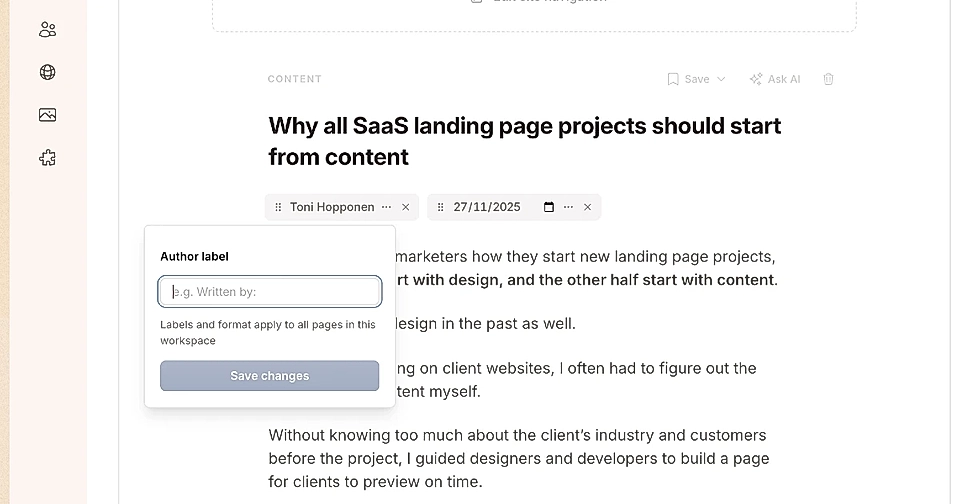
If you store author label information in settings, it will be added to every future article and updated across all existing articles using the same information.
If you select the author name in the text editor or in the publish modal, you can also link it to any page on your site.
Choose your date format
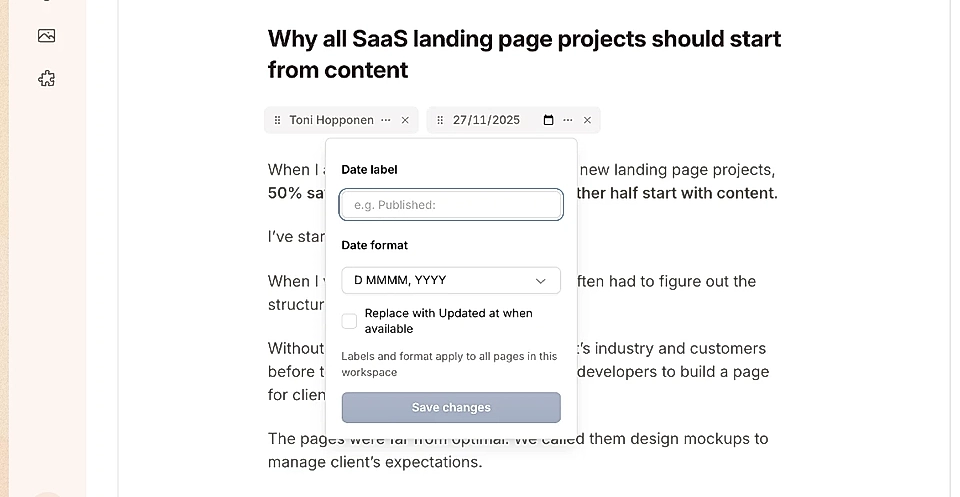
For the date, you can choose:
The format of the timestamp
Whether to add a label before it, like "Date" or "Published at"
These settings save automatically for future content and update across your whole workspace when you make changes.
Show when content was updated
In the date settings, you can decide if the published date should be replaced by an "Updated at" date when you make changes to the page.
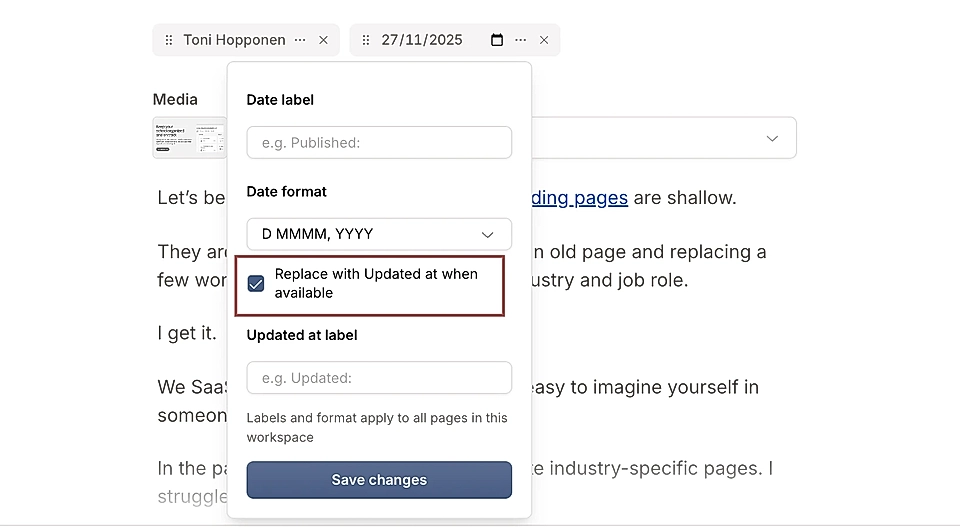
The updated date can include a label like "Updated at."
Showing when content was last updated can help with SEO by giving Google and other search engines current information about your page.
Edit author and date styles
You can edit the styles of the date and author just like any other element.
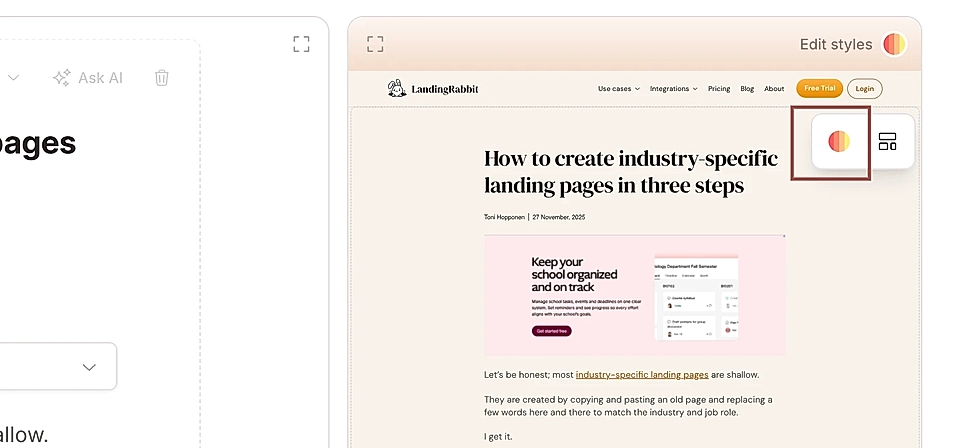
Click "Edit styles" and ask LandingRabbit to change the size, color, font weight, or font type.
SEO benefits
When you add an author to your article, the HTML structure changes from "website" to "article" in the metadata.
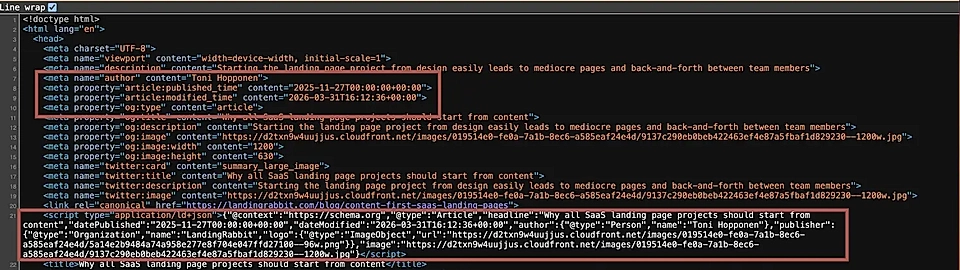
This includes the timestamp and author information, which can help improve your SEO.