Can I add highlight boxes to articles?
Yes, you can.
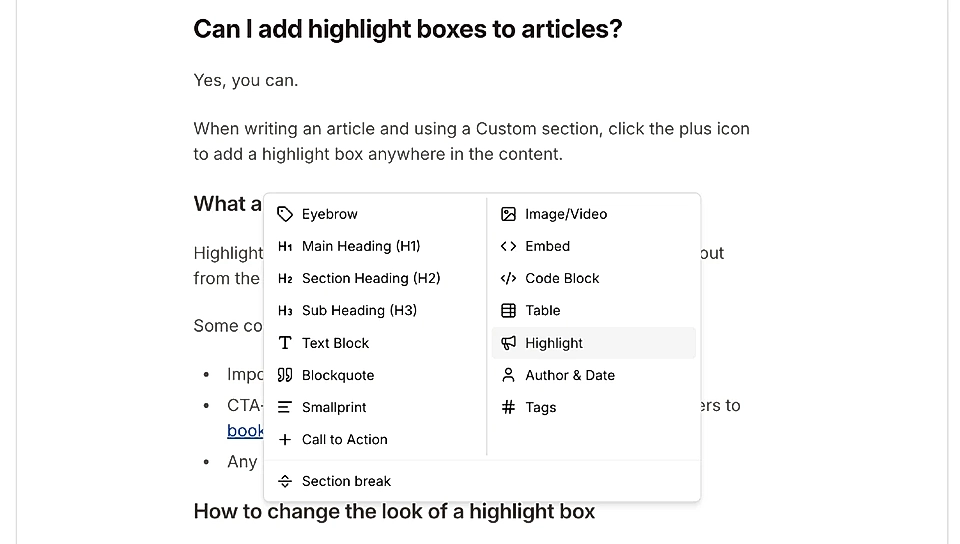
When writing an article and using a Custom section, click the plus icon to add a highlight box anywhere in the content.
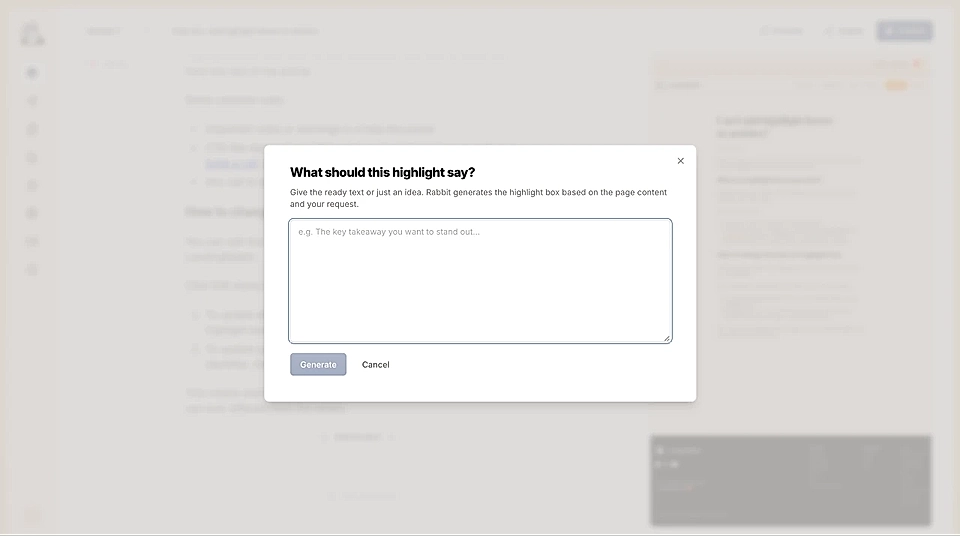
Then, give LandingRabbit the ready text or an idea (e.g., "A CTA for book a call"), and LandingRabbit generates the highlight for you to edit.
To each highlight box, you can add:
Eyebrows
Headings (H2 and H3)
Text block
Call to action buttons
Smallprint
Image/video
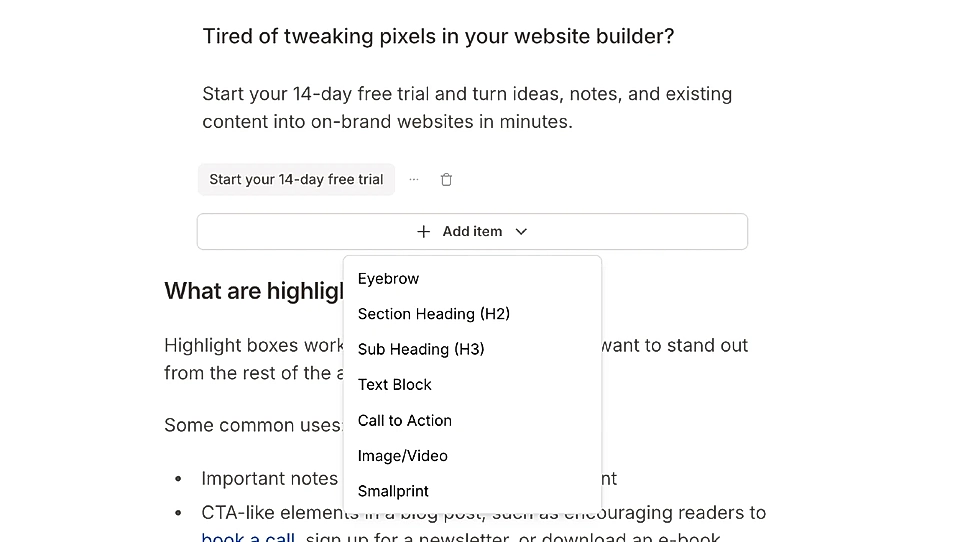
Here's an example highlight box 👇
Tired of tweaking pixels in your website builder?
Start your 14-day free trial and turn ideas, notes, and existing content into on-brand websites in minutes.
How to change the look of a highlight box
You can edit the colours of a highlight box just like any other element in LandingRabbit. Hover the page preview and click the Edit styles button to get started.
You can, for example, change:
Highlight box width
Background and border color (and shadow) and border width
Text font type, size, and color and button colors
Image/video position (left, right, top, and bottom) and how much width the image/video get inside the box
When editings styles, you have two options:
- To update all highlight boxes at once, ask to make changes to all highlight boxes.
- To update just one, hover over the specific element to find its identifier, then apply changes to that identifier only.
This means each highlight box on a page, or across different pages, can look different from the others.
What are highlight boxes good for?
Highlight boxes work well for any information you want to stand out from the rest of the article.
Some common uses:
Important notes or warnings in a help document
CTA-like elements in a blog post, such as encouraging readers to book a call, sign up for a newsletter, or download an e-book
Any call to action you want to place inline within the content