Can I add a table to the page?
Yes, you can.
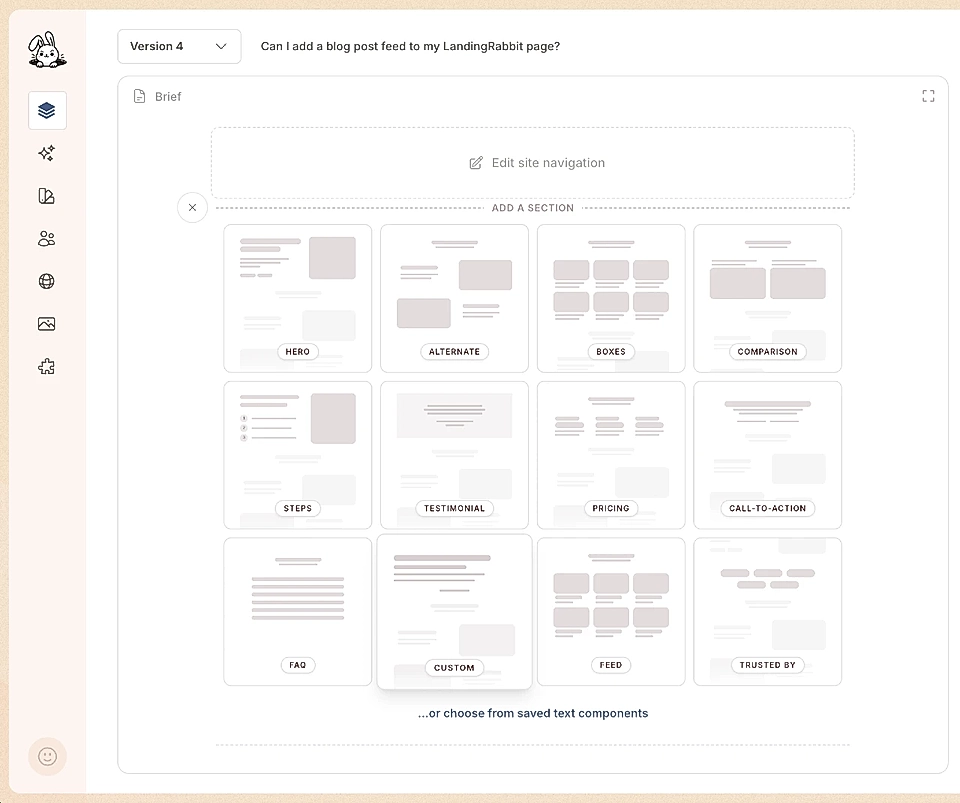
The Custom section allows you to add a table with header, labels, and columns.
How to add a table to your page
If you don't have a Custom section on the page yet, click to add one.
If you are editing a blog post, simply click the plus button and select 'Table'.
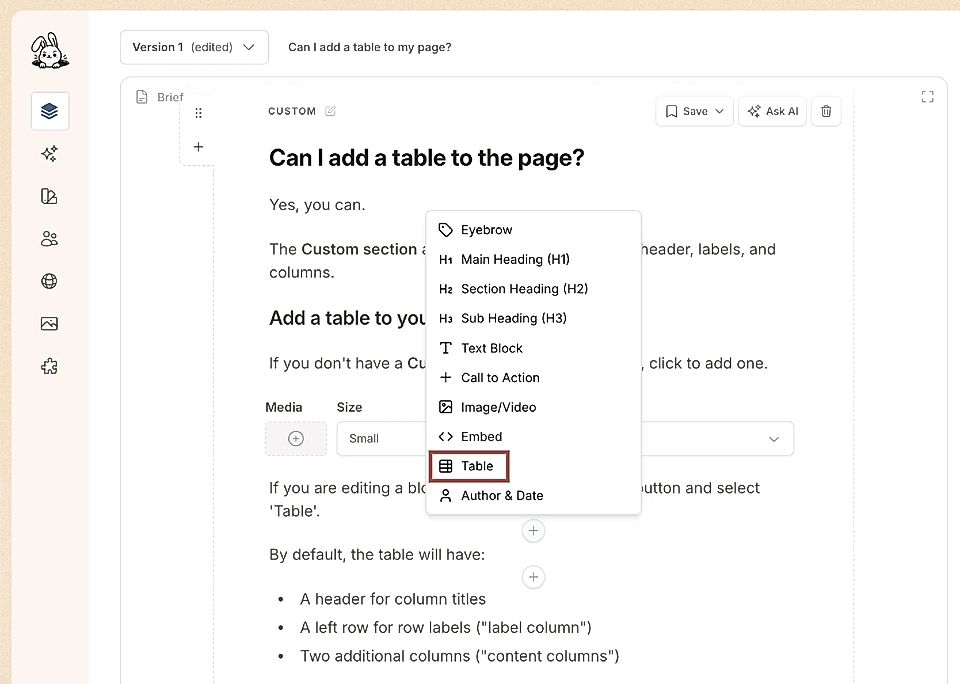
By default, the table will have:
A header for column titles
A left row for row labels ("label column")
Two additional columns ("content columns")
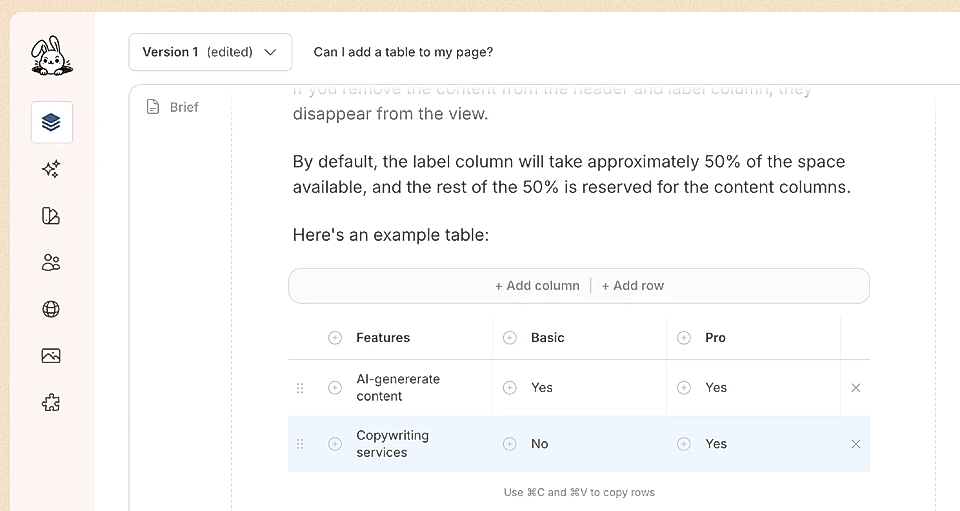
If you remove the content from the header and label column, they disappear from the view.
By default, the label column will take approximately 50% of the space available, and the rest of the 50% is reserved for the content columns.
Here's an example table:
Features | Basic | Pro |
|---|---|---|
AI-generated content | Yes | Yes |
Copywriting services | No | Yes |
Add more columns and rows to your table
You can add more columns and rows by clicking the buttons above the table. On mobile, rows will show a horizontal scroll when there's not enough space.
To each cell, you can add an icon and choose from more than 6000+ options.
Features | Basic | Pro | Premium |
|---|---|---|---|
AI-generated content | |||
Copywriting services |
You can duplicate rows with copy and paste to make your work faster.
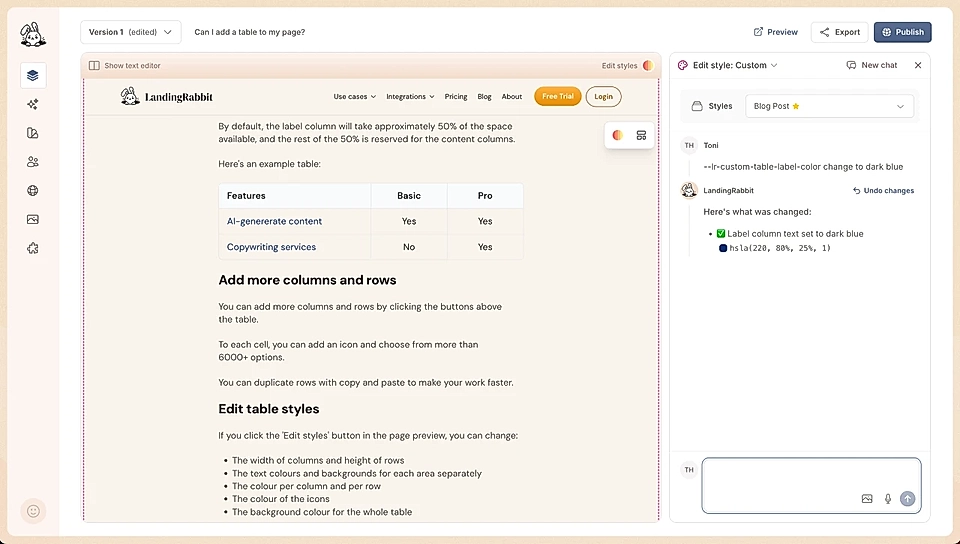
Edit table styles
If you click the 'Edit styles' button in the page preview, you can change:
The width of columns and height of rows
The text colours and backgrounds for each area separately
The text alignment inside the cell
The colour per column and per row
The colour of the icons
The background colour for the whole table
The table width and alignment (left and center)
You can add table-specific styles, so you don't need to worry about overriding them on another page.